
In life sciences work, a tiny volume difference can separate a key discovery from a wasted run. You might handle qPCR setups, NGS library prep, or everyday clinical tests, and the micropipette serves as your main instrument. Still, basic operation differs from true skill.
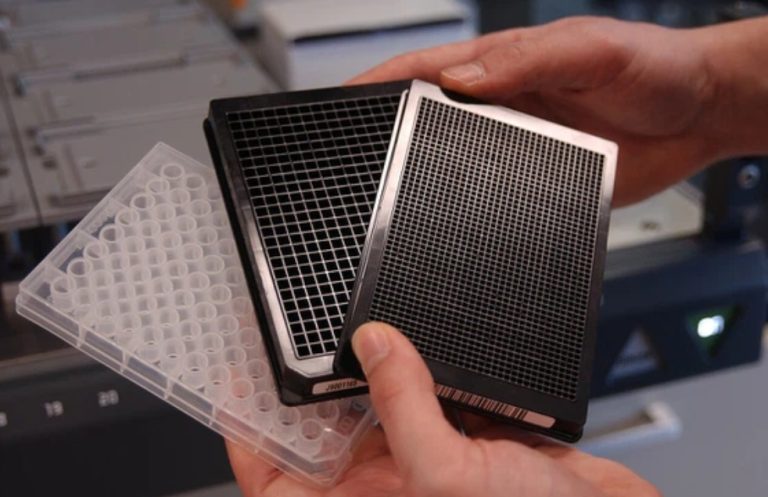
At Puretest, we see accuracy as a linked process. We lead in making biomedical supplies like blood collection tubes, cell culture plates, and PCR series. Even top pipettes give wrong readings if matched with bad tips or sloppy handling. This guide covers ways to reach top accuracy through solid steps and Puretest Pipette Tips.
Preparation: Setting the Stage for Precision
Good results start well before you pull up any liquid. A proper setup and smart choices form the base of fluid transfer.
Understanding Your Micropipette Range
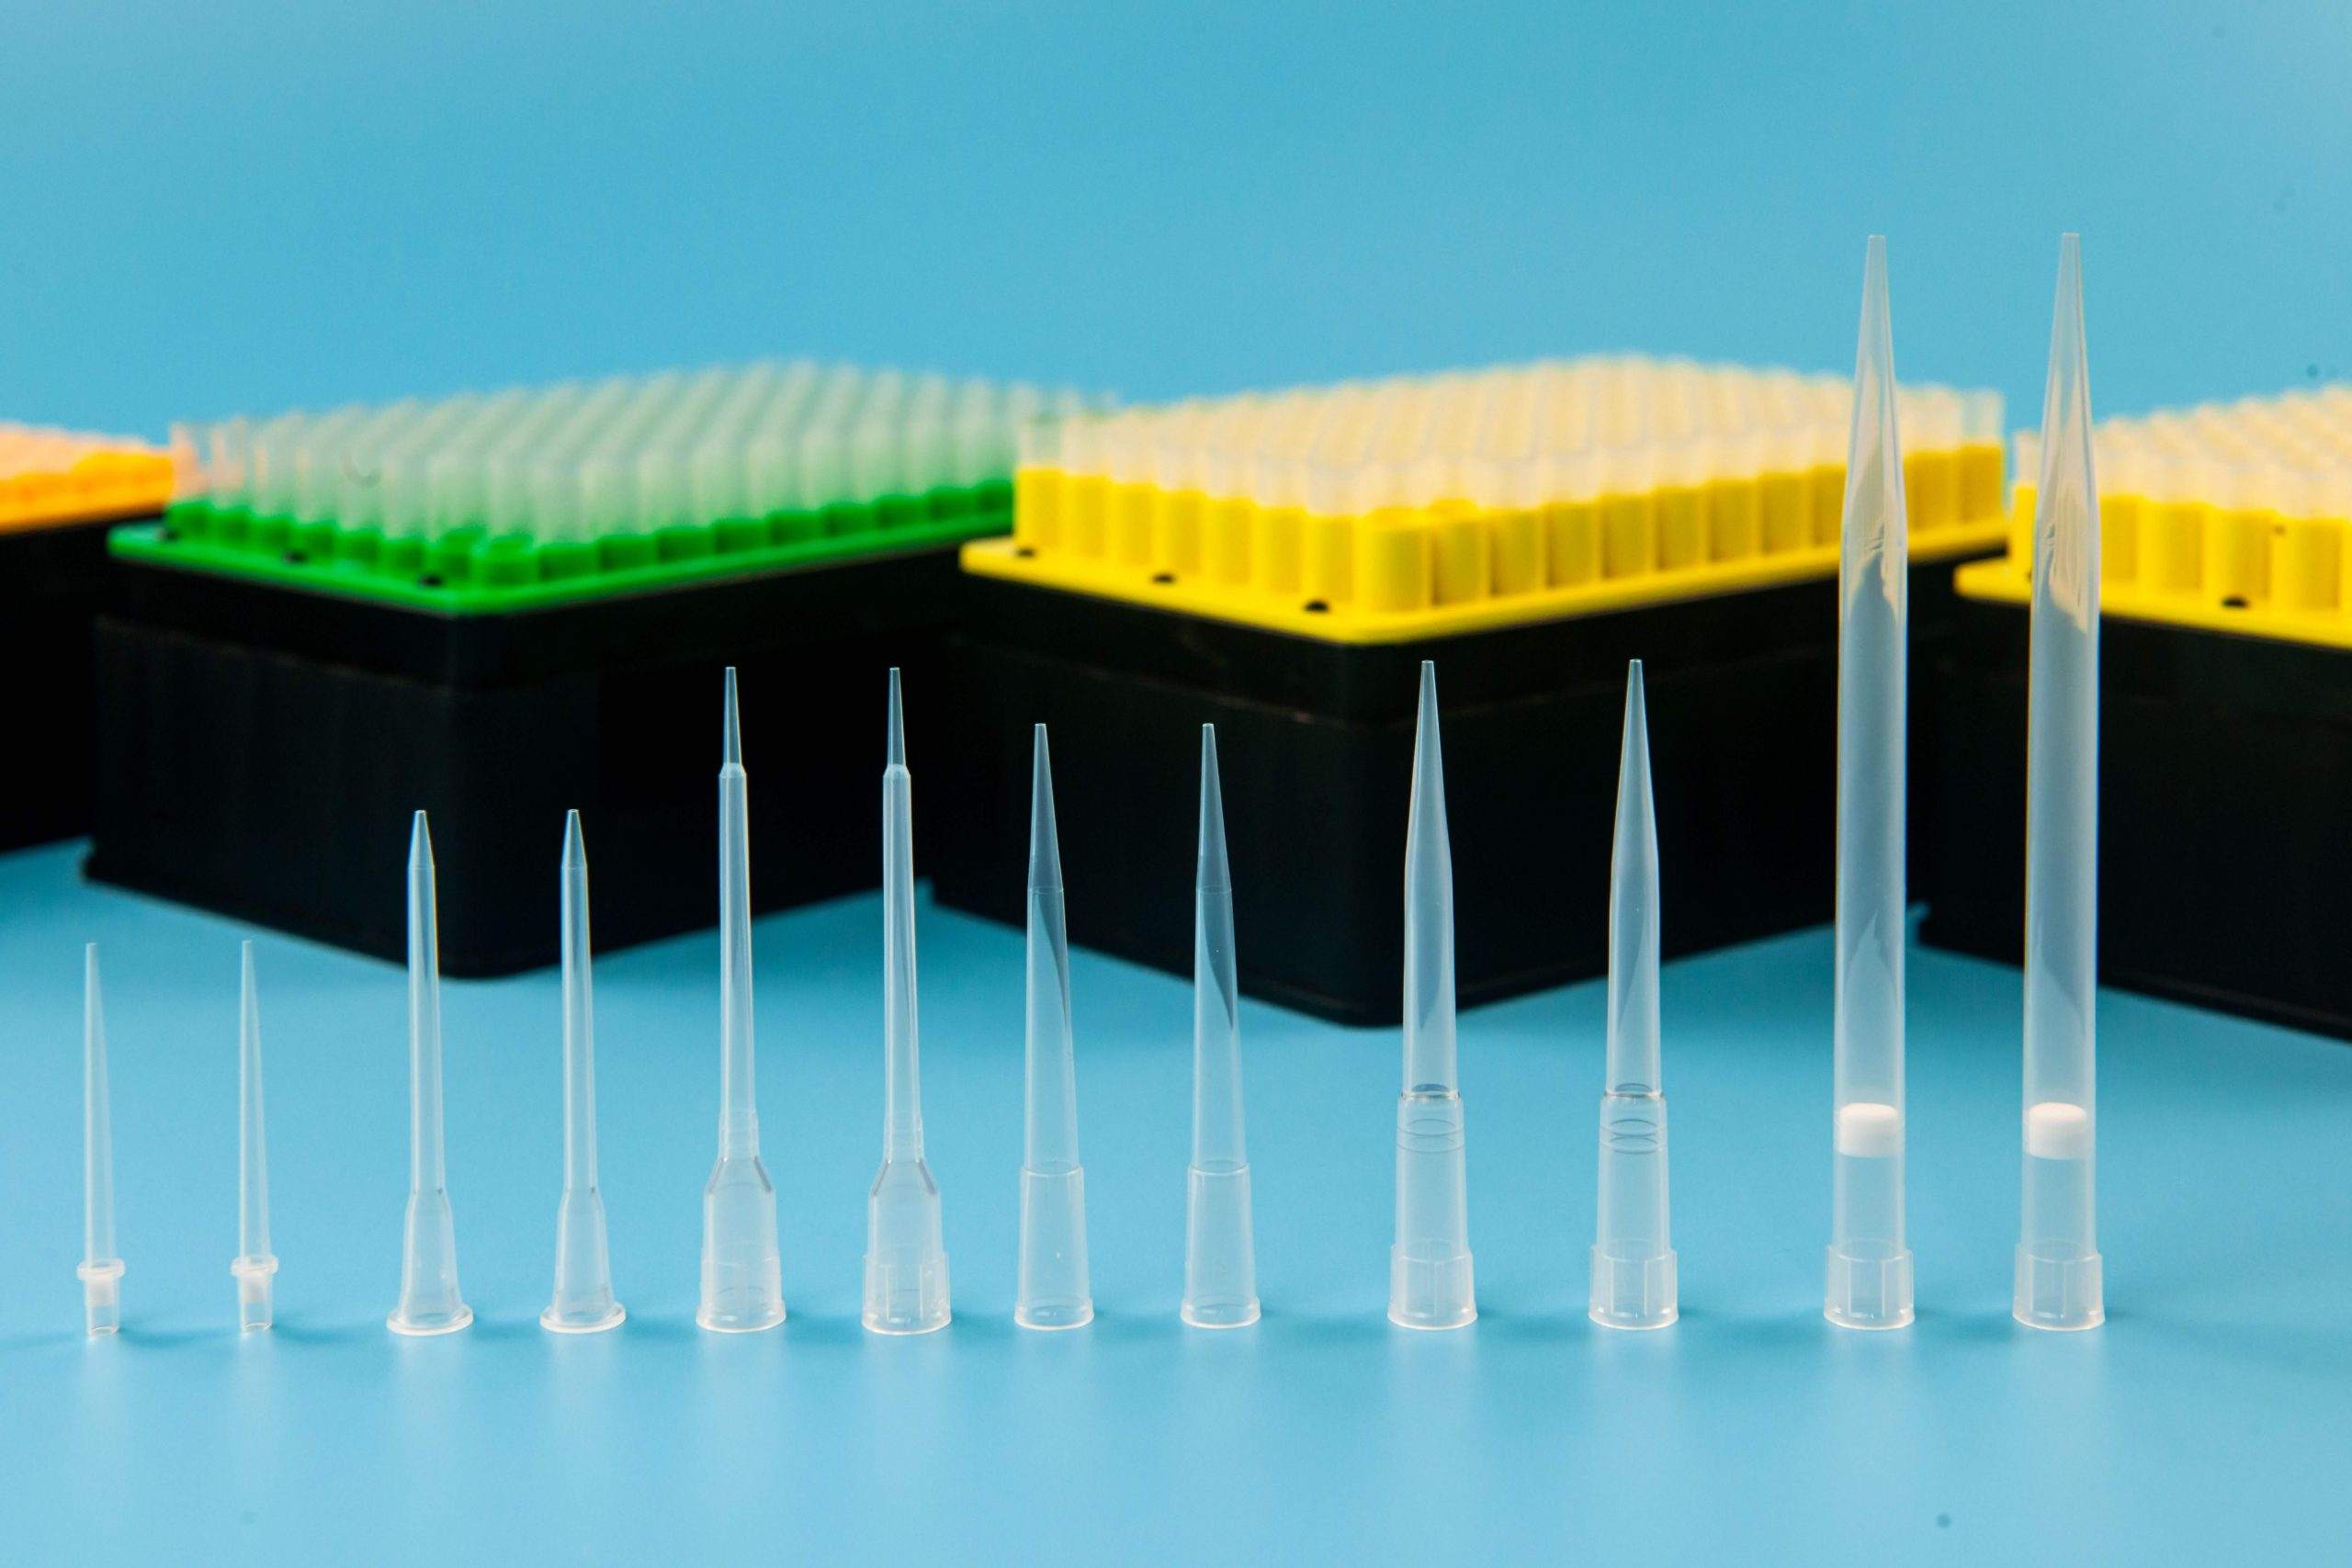
Each micropipette fits a certain volume span, such as P20, P200, or P1000. When you push a pipette to its lowest end, the variation rate rises. To get the best results, keep volumes between 35% and 100% of the pipette’s main setting.
Selecting the Correct Puretest Pipette Tip
A tight connection between the pipette barrel and tip creates a full seal. Puretest provides various tips suited to different lab tasks:
- Universal Fit Tips: Built for broad use with leading pipette types.
- Filter Tips: Include a dense polyethylene layer to stop aerosol spread.
- Low Retention Tips: Have treated walls to cut liquid sticking, key for costly materials.
The Standard Operating Procedure: How to Use a Micropipette
Stick to these steps so each transfer matches the one before.
Step 1: Volume Adjustment and Tip Attachment
For volume changes, dial just beyond the needed amount, then ease back to the mark. That step handles gear slack. To fit a Puretest Pipette Tip, push the barrel into the tip on the rack with a light turn. Avoid forcing it hard, which might harm the pipette’s inner parts.
Step 2: Aspiration (The “First Stop” Rule)
- Depress: Push the plunger to the first stop.
- Immerse: Dip the tip into the fluid (2–3 mm for small amounts, 5–6 mm for bigger ones). Too deep draws liquid along the outside, while too high pulls in air.
- Release: Let the plunger rise slowly to rest.
- Pause: Hold for 1–2 seconds so the fluid settles fully, particularly with thick samples.

Step 3: Dispensing and Blow-out
- Angle: Touch the tip to the vessel wall at 45 degrees.
- Dispense: Press the plunger steadily to the first stop.
- Blow-out: Push to the second stop to clear leftover fluid from the tip.
- Withdraw: Pull back the pipette with the plunger still down to prevent sucking up the sample again.
Advanced Techniques for Complex Liquids
Basic methods suit simple buffers, but tricky fluids call for extra approaches.
Forward vs. Reverse Pipetting
Forward mode is the usual way, yet Reverse Pipetting helps with evaporating or sticky fluids like glycerol or soaps. In this method, you go to the second stop for pulling up and just the first for releasing. It keeps a bit of extra in the tip, so the output volume hits the dial exactly.
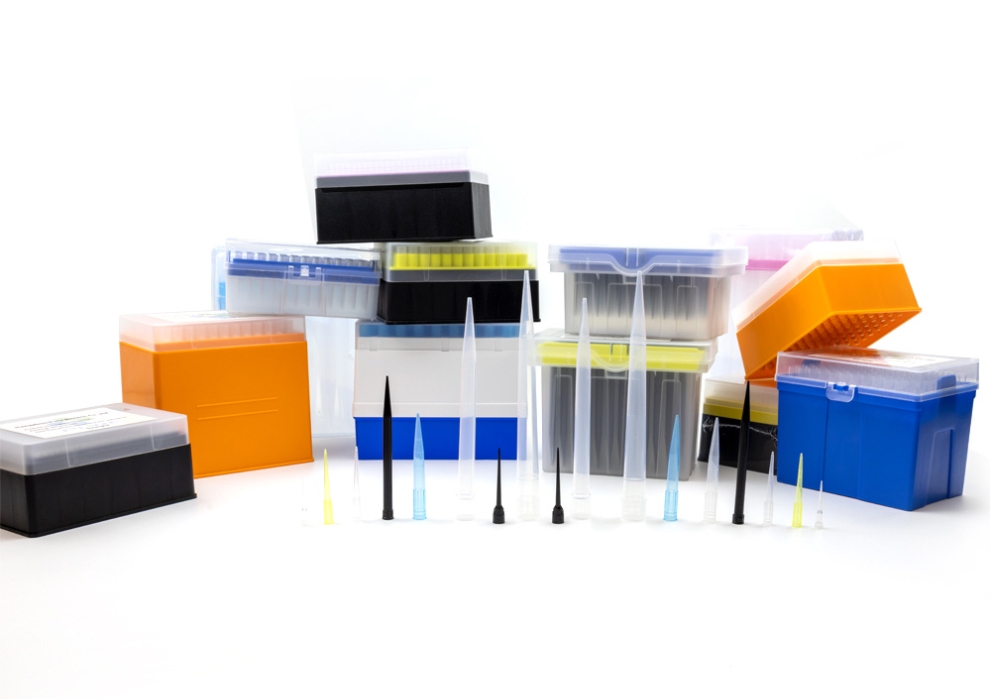
Handling Problematic Samples with Puretest Specialized Tips
- Genomic DNA & Proteins: Pick Puretest Wide-Bore Tips. Regular tips might break long DNA or foam proteins. The larger opening slows flow, safeguarding sensitive material.
- PCR & Infectious Samples: Choose Puretest Filter Pipette Tips. They tackle aerosol risks. Small sprays can slip into the barrel and spread contamination later. These filters trap particles, keeping PCR runs free of issues.
Why Puretest Pipette Tips Make a Difference
At Puretest, we craft more than plastic; we build reliable tools. Our tips come from Class 100,000 clean areas and test free of DNase, RNase, and Pyrogens.
Technical Excellence: Material and Design
- Medical Grade Polypropylene: We use clear, pure polypropylene so you can see the fluid level easily.
- Standardized Mold Precision: Lots get checks for alignment and opening evenness. Crooked tips or rough edges lead to uneven flow or spills when releasing.
- Graduation Marks: Molded lines offer a quick visual for volume checks.
Solving Laboratory Challenges with Puretest Innovations
- Reagent loss in Master Mix preparation.The Puretest Solution: Our Low Retention Tips feature a water-repelling coat that stops drops from clinging inside. This way, all your valuable enzymes make it to the tube, boosting lab value.
- Tipjamming in multichannel pipettes.The Puretest Solution: The bendable base lets tips lock in place with light pressure, forming a firm seal over 8 or 12 channels at once.
Maintenance and Best Practices
- Storage: Keep your pipette upright on a holder. This stops leftover fluid from reaching the body and rusting the piston.
- Temperature Equilibrium: Match the temperature of the pipette, tips, and fluids. Cold samples with warm tips often deliver less because of air changes.
- Pre-wetting: Pull and release the fluid 2–3 times first. It moistens the tip’s air space, cutting loss from drying and raising precision.
Conclusion
True skill with a micropipette marks a skilled scientist. Pair careful steps with quality items like Puretest Pipette Tips, and you cut out errors in your work. From ISO-approved production to full lab supplies such as PCR plates, cryogenic vials, and reagent bottles, Puretest backs your research with dependable gear.
Ready to upgrade your lab’s precision?
[Contact Puretest today for a custom quote or free samples of our premium Pipette Tips.]
FAQ
Q: How often should I calibrate my micropipette?
A: In typical labs, full calibration works every 6 to 12 months. But with harsh chemicals or heavy use, check every three months for safety.
Q: Can I autoclave Puretest Pipette Tips?
A: Yes, standard polypropylene tips handle 121°C for 20 minutes. Filter tips work best when bought already sterile, since heat might weaken the barrier.
Q: Why is my pipette leaking liquid after aspiration?
A: Leaks often stem from a loose tip fit or a worn O-ring inside. Use a matching Puretest tip and inspect the pipette for damage.
Q: What is the benefit of using “Low Retention” tips over standard ones?
A: Low retention tips block liquid films or clinging. They prove vital for soaps, oils, or protein mixes, where exact amounts matter for strength.